Understanding Logo Suitability for Embroidery Keychains
What Makes a Logo Suitable for Embroidery Keychains?
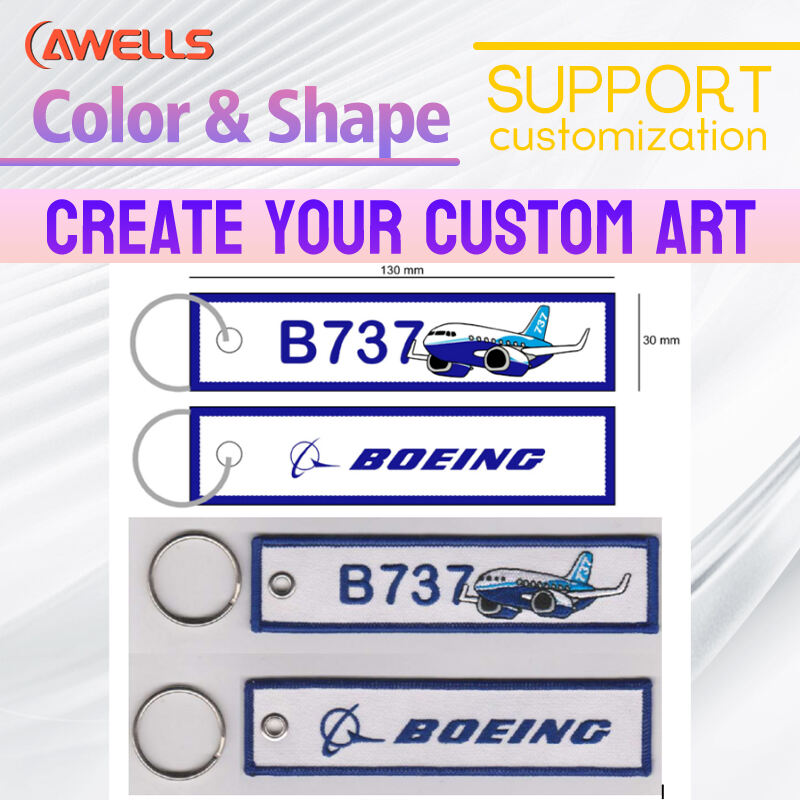
Good embroidery work on keychains starts with simple designs that stand out clearly. Clean lines matter a lot, along with color schemes that don't get too complicated ideally sticking to four colors max. Most people in the industry agree that around 10,000 stitches is about right for standard sized keychain logos. Go beyond that and things start getting messy fast. Recent studies from textile manufacturers show something interesting too detailed embroidery actually makes logos harder to recognize by about 32%. When it comes to fonts and spacing between elements, there's some math involved here. A font at least 1.5 points thick works well, and leaving at least 0.3 millimeters between different parts helps keep everything readable even when shrunk down to those tiny sizes between 1.5 inches and 2 inches across.
The Role of Stitches in Translating Brand Logos on Embroidered Keychains
Stitch types directly impact logo legibility:
- Satin stitches create smooth edges ideal for text outlines but require 0.8mm spacing
- Fill stitches work well for solid shapes and should use 15–20% lower density than standard patches
- Running stitches handle intricate patterns but limit color depth
A 2024 analysis of embroidery design principles found that brands using these techniques achieved 68% higher customer recall on promotional keychains.
Balancing Logo Size and Level of Detail for Small Formats
Scale your logo effectively using these guidelines:
- Minimum text height: 1/8" (3.2mm) for sans-serif fonts
- Line spacing: 40% wider than print versions
- Simplified icons: Remove background elements and merge overlapping shapes
For example, a corporate eagle logo with 12 feather details might reduce to 5 primary outlines in embroidery. Research indicates 90% of viewers retain brand recognition when core silhouette features remain intact, even with 60% detail reduction.
Digitizing Your Logo for Machine Embroidery
Step-by-Step Guide to Digitizing Logos for Embroidery
First things first, get that logo converted into a vector format if it isn't already. Vector files scale way better without losing quality, which matters a lot for embroidery work. When preparing designs, simplify those fancy gradients and tiny details because embroidery threads just can't capture them properly. Most machines struggle with anything too intricate, so keep things clean and straightforward. Stick to around three to five main colors at most. Too many shades gets confusing both visually and technically. And don't forget to check out stitch simulation software before finalizing anything. These tools show exactly how threads will lay on fabric, letting us tweak directions where needed to avoid that annoying puckering effect everyone hates seeing on finished products.
Choosing the Right Software for Logo Digitization
Professional-grade tools balance automated features with manual controls. Prioritize software that allows customization of stitch types (satin vs. fill) and density adjustments. A 2024 study found platforms with thread pull compensation reduced production errors by 22% in small-format embroidery.
Common Pitfalls in Digitizing Small Details of Brand Logos
- Overcrowding: Stitches smaller than 1.2 mm blur or break during production
- Underlay neglect: Missing stabilization stitches cause fabric distortion
- Color bleeding: Insufficient spacing between contrasting hues
Automatic vs. Manual Digitization: Accuracy and Best Practices
When it comes to turning logos into embroidery, AI tools do pretty good job with simple geometric shapes that don't have too many colors. Tests from last year showed around 85% accuracy rate for those basic designs. But when brands want something really intricate, manual work by skilled digitizers is still necessary because how stitches are ordered can make all difference in how long the embroidery lasts. With more complicated multi-layer designs, most professionals stick to established industry standards for setting up their embroidery processes. These help maintain quality while keeping production running smoothly without losing too much detail in the process.
Optimizing Design Files for Embroidery Keychain Production
Converting Vector Art to Embroidery File Format (DST/PES)
When exporting logo designs for embroidery work, going with vector formats like .AI or .EPS makes sense since these files stay sharp no matter how big they get scaled up. There are specific programs out there, Wilcom being one example, that take those vector lines and turn them into actual embroidery instructions. What happens is pretty straightforward really – curved parts become satin stitches while flat sections get filled in with regular stitches. Industry folks have noticed something interesting too. Recent tests in textile manufacturing show that when logos are converted from vectors instead of using pixel based images, there's about a third fewer instances of threads breaking during the stitching process. That kind of efficiency matters a lot in production settings where downtime costs money.
Meeting Logo File Requirements: Resolution, Format, and Sizing Constraints
Keychain embroidery requires 300 DPI resolution and clear contrast between elements details under 0.3mm risk stitch gaps. Designs under 1.5" benefit from at least 1200x675 pixels for stitch accuracy. Transparent backgrounds and solid color blocks prevent unintended stitches in negative spaces, as outlined in apparel digitization best practices.
Optimizing Stitch Density and File Settings for Durability
Getting the right stitch density around 4,000 to maybe 6,000 stitches per square inch helps prevent those annoying puckers in the fabric while still keeping things looking good. When working with textured materials, adding some underlay stitches makes all the difference. And don't forget to cut down on overlapping patterns by about 15 to 20 percent because too much overlap causes most of the headaches with thread jams during keychain manufacturing according to recent findings from textile engineers. The tension settings on machines should really match up with how thick the stabilizer is, particularly when dealing with multiple layers across curved areas where everything tends to get tricky anyway.
Simplifying Complex Logos Without Losing Brand Identity
When and How to Simplify Design Elements for Embroidery Feasibility
Begin by identifying components essential to brand recognition. Luxury brands that removed ornate serifs for digital adaptation saw 25% higher engagement in small formats. For embroidery keychains:
- Remove gradients and text smaller than 6pt
- Convert multi-color elements to simplified 2–3 color schemes
- Outline intricate symbols instead of using solid fills
Managing Fine Details in Limited Embroidery Space
Embroidery stitch limits demand strategic prioritization. A 2023 industry survey found 78% of promotional product designers recommend 3mm spacing between elements for clarity. For <2" keychain areas:
| Detail Type | Minimum Viable Size |
|---|---|
| Line thickness | 1.2mm |
| Text height | 3.5mm |
| Repeating pattern gaps | 2.5mm |
Case Study: Redesigning a Detailed Corporate Logo for Keychain Use
A global tech firm reduced their 12-element logo to three core components for embroidery keychains:
- Simplified tower icon from 7 layers to a 2-color outline
- Removed tagline text (accounting for 43% of original footprint)
- Converted gradient sphere to flat thread zones
The redesigned version retained 92% brand recognition in user tests while using 60% fewer stitches. Post-production surveys showed 40% higher recall versus complex versions.
From Design to Finished Product: Producing High-Quality Embroidery Keychains
Transferring Your Digitized Logo to the Embroidery Machine
Once the logo has been converted into something the embroidery machine can read, such as DST or PES files, double check that all the machine settings line up with what's specified in those files. Getting this right makes a big difference later on. To get the design onto the machine, most people use a USB stick these days, though some still prefer transferring directly through their embroidery software. Before jumping into actual production work, it's smart to do a quick test run on some scrap fabric first. This lets us see if everything lines up properly, whether stitches are too tight or loose, and confirms colors look correct under different lighting conditions. Taking this extra step saves headaches down the road when working with expensive fabrics.
Stitching Techniques That Enhance Logo Clarity on Keychains
When working with fabrics, it helps to use underlay stitches as a base layer that keeps everything from puckering up, particularly important when dealing with those tiny logos that tend to distort easily. Satin stitches work great on text or fine details, while fill stitches are better suited for covering larger sections completely. Most polyester threads need their tension set somewhere around 3.5 to 4.5 Newtons to get that right balance where embroidery lasts longer but still looks vibrant. And if there's going to be multiple colors involved in the design, make sure the machine is set to automatically trim threads whenever switching colors. This saves time and reduces those annoying moments where someone has to manually cut threads mid-project.
Essential Materials and Setup Tips for DIY or Studio Production
When working with fabric for embroidery projects, go for tight weaves such as twill or felt since these materials tend to hold stitches much better compared to stretchier options. It really helps to pair them with tear away stabilizers too because they provide that extra rigidity needed during stitching. Keep an eye on tension while setting up the hoop area so everything stays aligned properly throughout the process. If someone is just getting started with their own setup at home, look for an embroidery machine that comes with at least a four inch by four inch hoop space available. Also worth mentioning are those titanium coated needles which can make all the difference when it comes to preventing frustrating thread breakages mid project.
Ensuring Consistency and Quality Across Multiple Keychain Units
When working through batch production runs, it's important to keep an eye on things like thread tension, make sure needles are still sharp enough, and double check that designs are properly aligned. A good practice is running a quick quality check on about ten items for every fifty produced, looking specifically at how well stitches hold together and whether colors match what was intended. Machines that get calibrated regularly tend to produce fewer defects, cutting down problems by roughly 18% during large scale embroidery jobs based on recent research from last year. Don't forget to trim those extra threads as soon as possible after sewing, and grab a lint roller now and then to keep work areas clean between different product batches.