 EN
EN

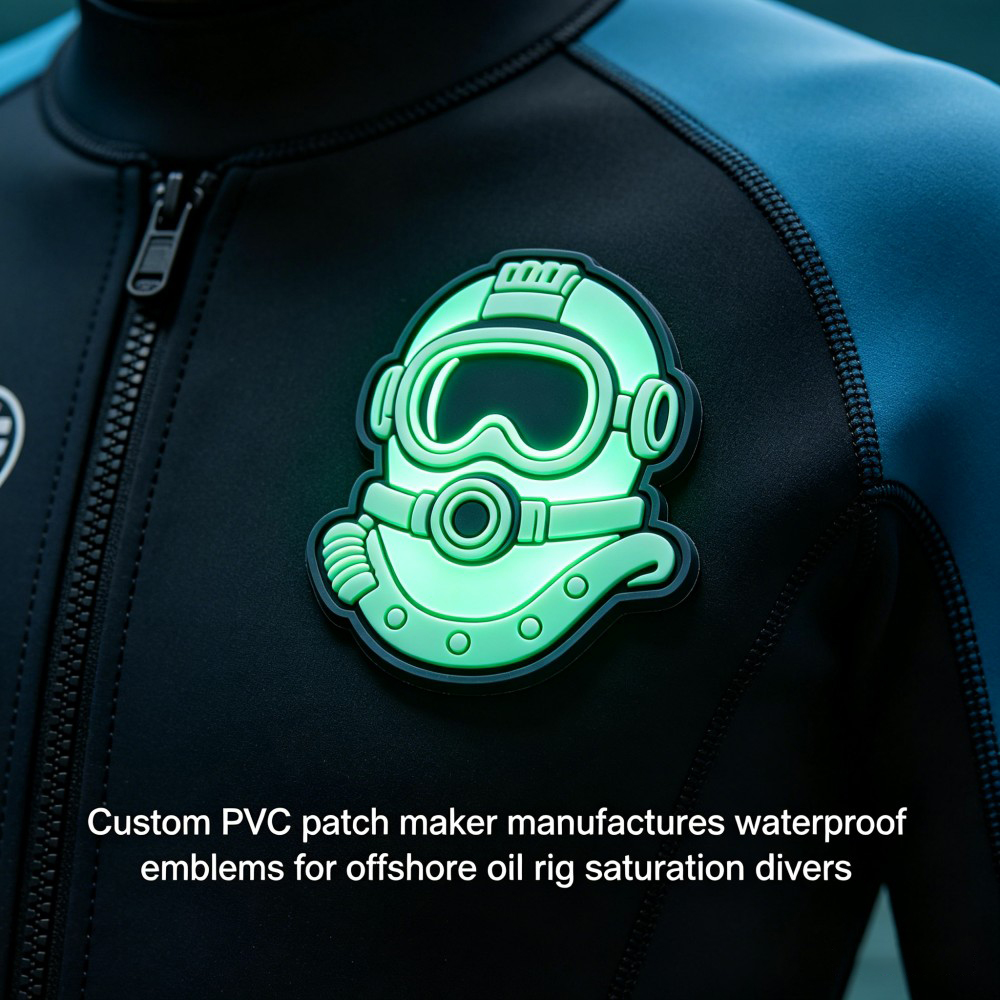
Foundations of 3D Custom PVC Patch Design: Artwork, Color, and Specification
Vector Artwork Requirements for Precision Mold Creation
Every custom PVC patch begins with a flawless vector file. Manufacturers rely on CNC machining to carve metal molds from digital blueprints—making vector artwork non-negotiable. Submit files in AI, EPS, or SVG format, with all text converted to outlines to prevent font substitution. Because vector paths are resolution-independent, even the smallest design elements translate cleanly to the mold, eliminating pixelation risks. Line thickness must never drop below 0.3 mm; thinner traces often fail to fill during injection or collapse during demolding. Clean, well-organized layers help mold makers assign distinct cavities for each color—a critical step for achieving true three-dimensional depth. Simple, bold shapes work best; overly intricate details blur as liquid PVC flows. By adhering to these standards, you ensure the mold faithfully replicates every contour, edge, and curve of your design.
Pantone Matching and Color Separation for Consistent 3D Depth Perception
Accurate color reproduction is essential to the perceived depth of a 3D patch. The Pantone Matching System provides the standardized reference needed to mix liquid PVC pigments precisely—each Pantone number corresponds to a specific pigment formula, ensuring brand-color consistency across production runs. Color separation—the process of breaking vector artwork into individual color plates—guides the mold-filling sequence. Separate plates for foreground, midground, and background elements allow manufacturers to pour contrasting colors into distinct cavities, creating the illusion of layered depth. For example, a dark navy background paired with a bright white foreground makes the top layer appear to float above the base—even though the patch remains physically flat. Slight color shifts between batches can disrupt this effect, so specifying Pantone codes from the start eliminates guesswork and preserves visual fidelity.
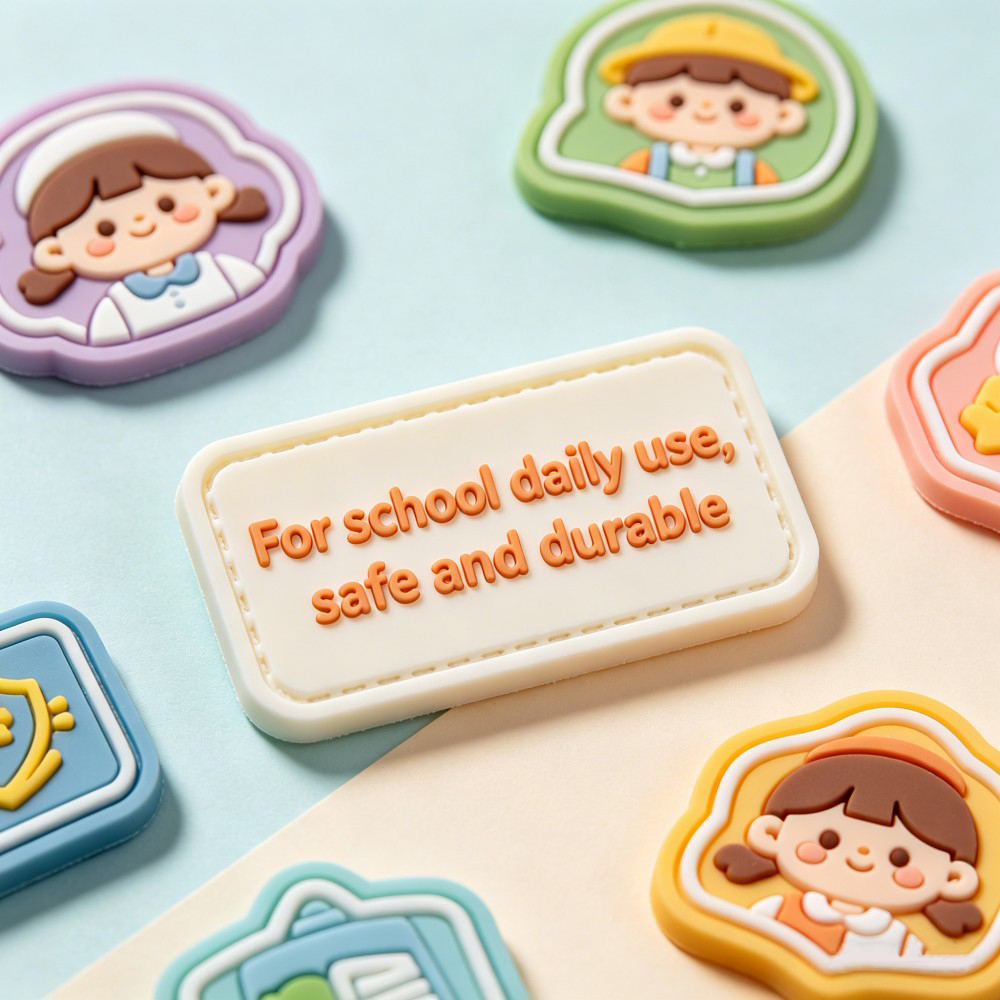
Creating True 3D Dimensionality in Custom PVC Patches
Layered Depth Modeling: Vertical Stratification for Tactile Impact
True 3D PVC patches gain their signature look and feel through vertical stratification. A typical patch stacks three to four distinct layers, each solidified in a precision mold. Base layers provide a flat structural foundation, while the final top layer is molded with a rounded, dome-like profile. This gradual incline and decline—not an abrupt step—creates a tactile surface that resembles rolling hills. An average thickness of 3.5 mm ensures prominent physical presence at the highest points without adding excessive weight. During injection, colored PVC fills the raised sections, locking in every contour and edge. The result is a patch where height differentiation is immediately visible and palpable—transforming a flat logo into a dimensional asset that commands attention on apparel, bags, or promotional merchandise.
Simulating Dimension with Strategic Color Contrast, Shadows, and Surface Textures
Beyond physical layering, smart use of color contrast and surface finishes enhances the perception of depth. Darker, recessed areas mimic natural shadows; lighter, raised sections catch light and appear to advance. Precise color separation during mold creation ensures each hue is injected into its designated cavity—preventing bleed and preserving definition. A matte background texture paired with a glossy top layer creates vivid interplay in light reflection, amplifying the roundness of elevated zones. Subtle gradients or a darker rim around lifted elements further reinforce the illusion of a freestanding object. These visual cues allow a patch with just a 1.5 mm height difference to feel dramatically sculpted—turning a technically flat design into a multi-dimensional visual statement that strengthens brand recall without requiring extreme physical thickness.
Mold Fabrication Methods That Enable High-Fidelity 3D Custom PVC Patches
CNC Machining vs. Hand Sculpting: Balancing Detail, Consistency, and Scalability
CNC machining uses computer-controlled tools to carve molds from stainless steel, achieving micron-level precision that faithfully reproduces even the finest vector details of a custom PVC patch. This method ensures batch-to-batch consistency—making it the standard for large orders exceeding 10,000 units. In contrast, hand sculpting offers an artisanal touch, with skilled craftsmen adding organic depth and texture—but it sacrifices repeatability. While hand-sculpted molds are viable for small runs of 50–100 patches, they introduce slight variations and higher per-unit costs. For most corporate branding applications, the precision and reliability of CNC are paramount; hand sculpting may be reserved for limited-edition collector’s items. This balance allows brands to achieve both high fidelity and unique character—yet for consistent, large-scale production, CNC machining remains the definitive choice.
Design Constraints and Proven Best Practices for Durable 3D Custom PVC Patches
Producing a reliable custom PVC patch requires strict adherence to structural design rules that differ significantly from digital or 2D printing. Ignoring material behavior during molding leads to adhesion failures and unreadable details. A minimum thickness of 0.3 mm prevents peeling, while recessed lines between colors stop bleeding during liquid PVC injection.
Avoiding Failure: Why Sub-1mm Details and Small Text Don’t Translate in 3D PVC
Microscopic precision is impossible in a viscous medium. When hot PVC flows into a mold, surface tension creates a bridging effect that fills narrow grooves—erasing sub-1 mm recessed lines entirely. To ensure clear definition, any raised or recessed detail must maintain a minimum line thickness of 1 mm. Text faces similar challenges: fonts with thin strokes or serifs collapse visually under heat and pressure. For legibility, text must have a minimum height of 5 mm and a stroke width of at least 1 mm. Staying within these parameters ensures the final product is a durable, readable emblem—not a blurred plastic disc.
Custom Border Integration as a Structural Anchor and 3D Framing Element
A custom border serves a dual role: structural anchor and 3D framing device. Functionally, the outer edge acts as a dam—containing liquid PVC and preventing flash or irregular edges. A border thickness kept under 1 mm ensures flexibility for attachment to curved surfaces while protecting internal 3D elements from peeling. Visually, it creates contrast that enhances the perceived depth of the design, transforming a flat silhouette into a framed, professional badge.
Frequently Asked Questions (FAQ)
Do I need vector artwork for a custom PVC patch design?
Yes, vector artwork is essential for precision mold creation. It ensures clean reproduction of your design without pixelation, enabling the mold maker to achieve accurate results.
What is Pantone matching for PVC patches?
Pantone matching ensures consistent color reproduction by providing a standardized reference for pigment mixing. This maintains brand consistency across production runs.
Why are layered depths important in 3D PVC patches?
Layered depths create tactile and visual differentiation. Multiple vertical layers provide a strong structural foundation and enhance the patch’s dimensional appearance.
How can color contrast enhance 3D effects in PVC patches?
Strategic use of color contrast and textures, such as darker recessed areas and lighter raised sections, improves depth perception and adds visual impact to the patch design.
What are the minimum design constraints for text and details?
Text must have a height of at least 5 mm and a stroke width of 1 mm. Line thickness for raised or recessed details should also exceed 1 mm to ensure proper definition.
Table of Contents
- Foundations of 3D Custom PVC Patch Design: Artwork, Color, and Specification
- Creating True 3D Dimensionality in Custom PVC Patches
- Mold Fabrication Methods That Enable High-Fidelity 3D Custom PVC Patches
- Design Constraints and Proven Best Practices for Durable 3D Custom PVC Patches
- Frequently Asked Questions (FAQ)